|
Архитектура Аудит Военная наука Иностранные языки Медицина Металлургия Метрология Образование Политология Производство Психология Стандартизация Технологии |
|
|
Архитектура Аудит Военная наука Иностранные языки Медицина Металлургия Метрология Образование Политология Производство Психология Стандартизация Технологии |
MAKE THE BIRD/DUCK BLOCK AFTER COMPLETING STEPS 1-5
STEP 6 Stitch the placement line for the bird’s tail feathers.
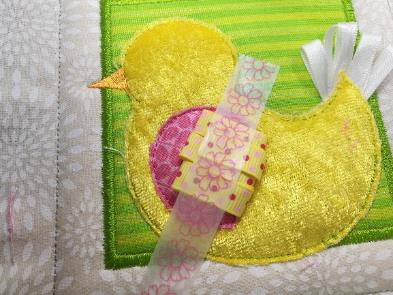
Cut lengths of various ribbons (you can make them as long or as short as you like) and fold the pieces in half. Place the loops of ribbon on the placement line with the raw edges pointing towards the centre of the hoop. Tape them in place (we taped each individual ribbon).
STEP 7 Stitch the ribbons down.
Remove all of the tape and trim the excess ribbon about ¼” away from the stitch down line .

Replace with one piece of tape crossing over the ribbon pieces. This is just so the machine foot doesn’t get caught on the ribbon when stitching the next placement line.
STEP 8 Stitch the placement line for the bird/duck’s body. Remove the tape.
STEP 9 Place fabric C on top of the hoop right side up covering the placement line and stitch down.
Remove the hoop and trim the fabric as close to the stitching as you can without cutting the stitching. Be very careful cutting around your ribbon.
STEP 10 Stitch the placement line for the wing feathers.
Cut lengths of various ribbons (you can make them as long or as short as you like) and fold the pieces in half. Place the loops of ribbon on the placement line with the raw edges pointing towards the left-hand side of the hoop. Tape them in place (we taped each individual ribbon).
STEP 11 Stitch the ribbon feathers down. Remove all of the tape and trim the excess ribbon about ¼” away from the stitch down line .
 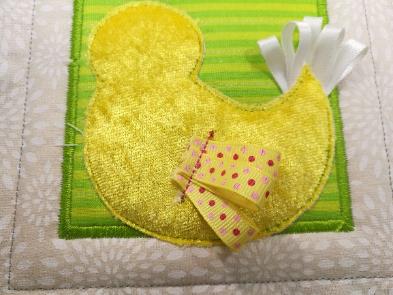
Replace with one piece of tape crossing over the ribbon pieces. This is just so the machine foot doesn’t get caught on the ribbon when stitching the next placement line.
STEP 12 & 13 Repeat the applique process with bird’s wing using a piece of fabric large enough to cover the placement line. Remove the tape after step 12.
Remove the hoop and trim the fabric as close to the stitching as you can without cutting the stitching. Be careful to not cut your ribbon.
STEP 14 Embroider the beak.
STEP 15 Embroider the satin stitch around the body. (if your ribbons are long and are going to get in the way of the machine foot while embroidering the satin stitch around the bird/duck, simply just fold over and tape your ribbons down).
Remove the tape.
STEP 16 Embroider the satin stitch around the wing.
STEP 17 Embroider the eye.
STEP 18 Embroider the highlight in the eye.
STEP 19 Embroider the cheek.
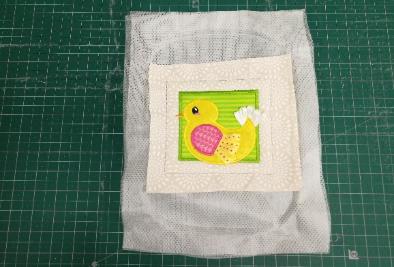
Remove your work from the hoop.
Trim the batting out of the seams if you skipped STEP 1.
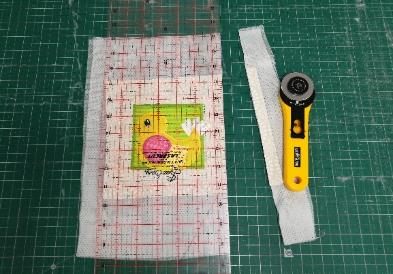
Trim the seams to about ½ an inch. Be careful to not cut your tail and wing ribbons.
Hold aside for later. |
Последнее изменение этой страницы: 2019-03-21; Просмотров: 323; Нарушение авторского права страницы