|
Архитектура Аудит Военная наука Иностранные языки Медицина Металлургия Метрология Образование Политология Производство Психология Стандартизация Технологии |
|
|
Архитектура Аудит Военная наука Иностранные языки Медицина Металлургия Метрология Образование Политология Производство Психология Стандартизация Технологии |
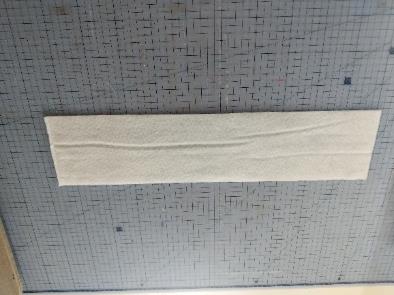
ADD THE BOTTOM BORDER (THERE IS ONLY A FRONT BOTTOM BORDER) ⇐ ПредыдущаяСтр 7 из 7
Place fabric D on top of batting 2 right side up.
Then place the top edge of the front of the bag on top of fabric D and batting 2 wrong side up. Have the excess of both batting 2 and fabric D towards the centre of the front of the bag.
Pin in place and stitch with a half inch seam. Stitch inside the border line on the bag front so this line of sewing does not show on the front of the bag.
Fold over and iron the bottom border down neatly. Optional – top stitch the border.
Trim the excess bottom border fabric on the front of the bag so everything is neat and tidy.
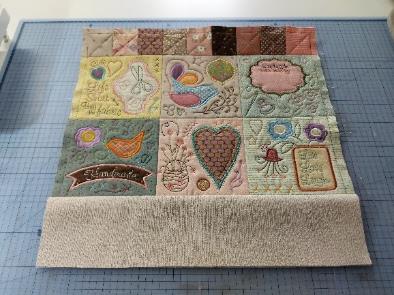
ADD SIDE BORDERS TO THE FRONT There are two side border, which will be attached to the front of the bag only
Place fabric E on top of batting 3 right side up.
Then place one of the side edges of the front of the bag on top of fabric E and Batting 3 wrong side up. Have the excess of both Batting 3 and Fabric E towards the centre of the front of the bag.
Pin in place and stitch with a half inch seam. Stitch inside the border line on the bag front so this line of sewing does not show on the front of the bag.
Fold over and iron the side border down neatly.
Optional - Topstitch the border Repeat the process on the opposite side.
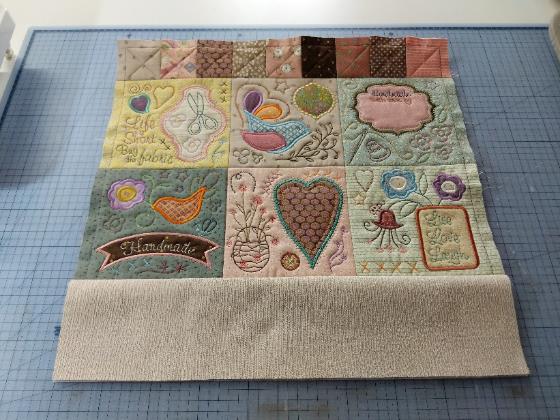
Trim the excess border fabric, ONLY at the top edge of the front of the bag, so it is in line with the top border. We also trimmed the side borders to make the width 4¼” (11.5cm) to match the bottom border width. Shown in the photo below.

The bottom corners of the front of the bag now needs to have what looks like a square cut out of them.
Each edge of the square should be 4” (10cm). The size of the square determines the depth of the bag. We will not be cutting squares out of the back of the bag because there is no bottom/ or side borders on the back and this is why we need to cut the squares to 4”. If you want to make the depth of your bag deeper simply make the width of the bottom & side borders wider which will then mean you can cut the squares bigger; resulting in a deeper bag.
 
Trim the batting and fabric now to accomplish this.
CUT THE LINING
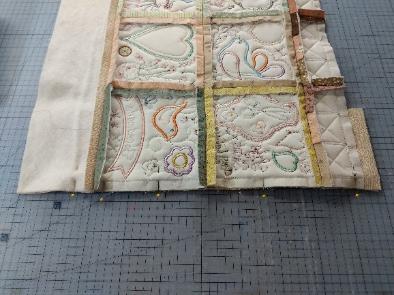
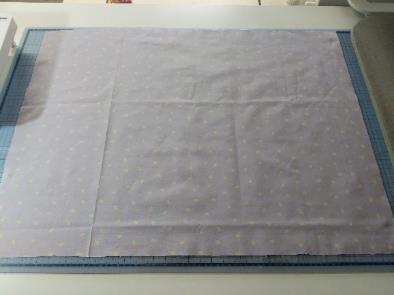
Place Fabric F (front lining) on your table.
Place your sewn front of the bag on top of Fabric F right side together.
Pin together lightly and trim the lining so it matches the shape of your bag.
Unpin & put aside for later.
Repeat the above process for the back lining (using Fabric G) using the back of the tote bag.
These two pieces of fabric will form the lining of the bag. MAKE THE STRAPS
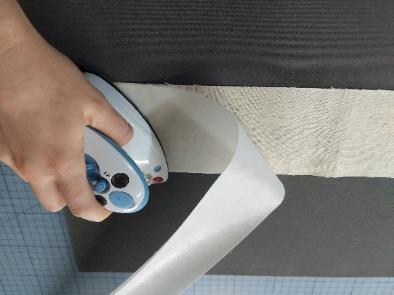
Take out both pieces of Fabric H for the straps. (Iron fusible interfacing on to them – optional)
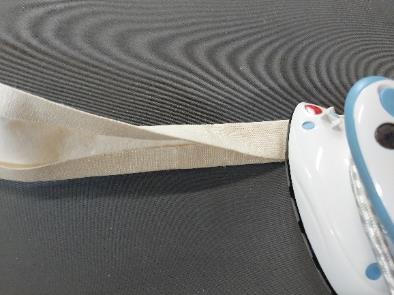
Fold the edges in about 1cm (half an inch) wrong sides together and iron.
Fold in half lengthways and iron.
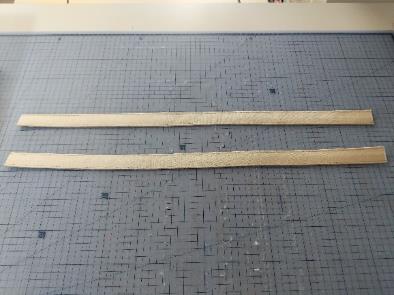
Topstitch the edges together and repeat for the other side if you would like it to look even. Use the same colour bobbin thread.
Make sure both the straps are even and trim them to the desired length.
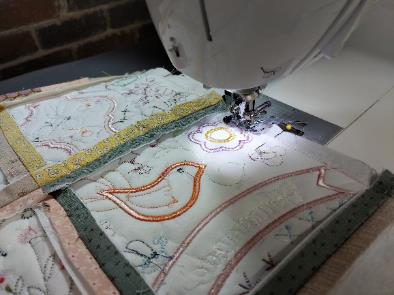
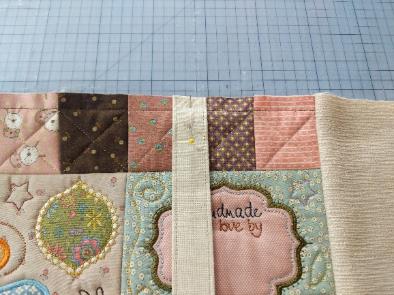
Place the first strap (folded in half – wrong side up) on top of the front of the bag with the cut edges along the top of the bag and the length of the strap towards the middle of the bag.
Pin and stay stitch in place.
Repeat for the strap on the back of the bag. (Try and place the strap in the same location as the front of the bag).
|
Последнее изменение этой страницы: 2019-03-22; Просмотров: 317; Нарушение авторского права страницы